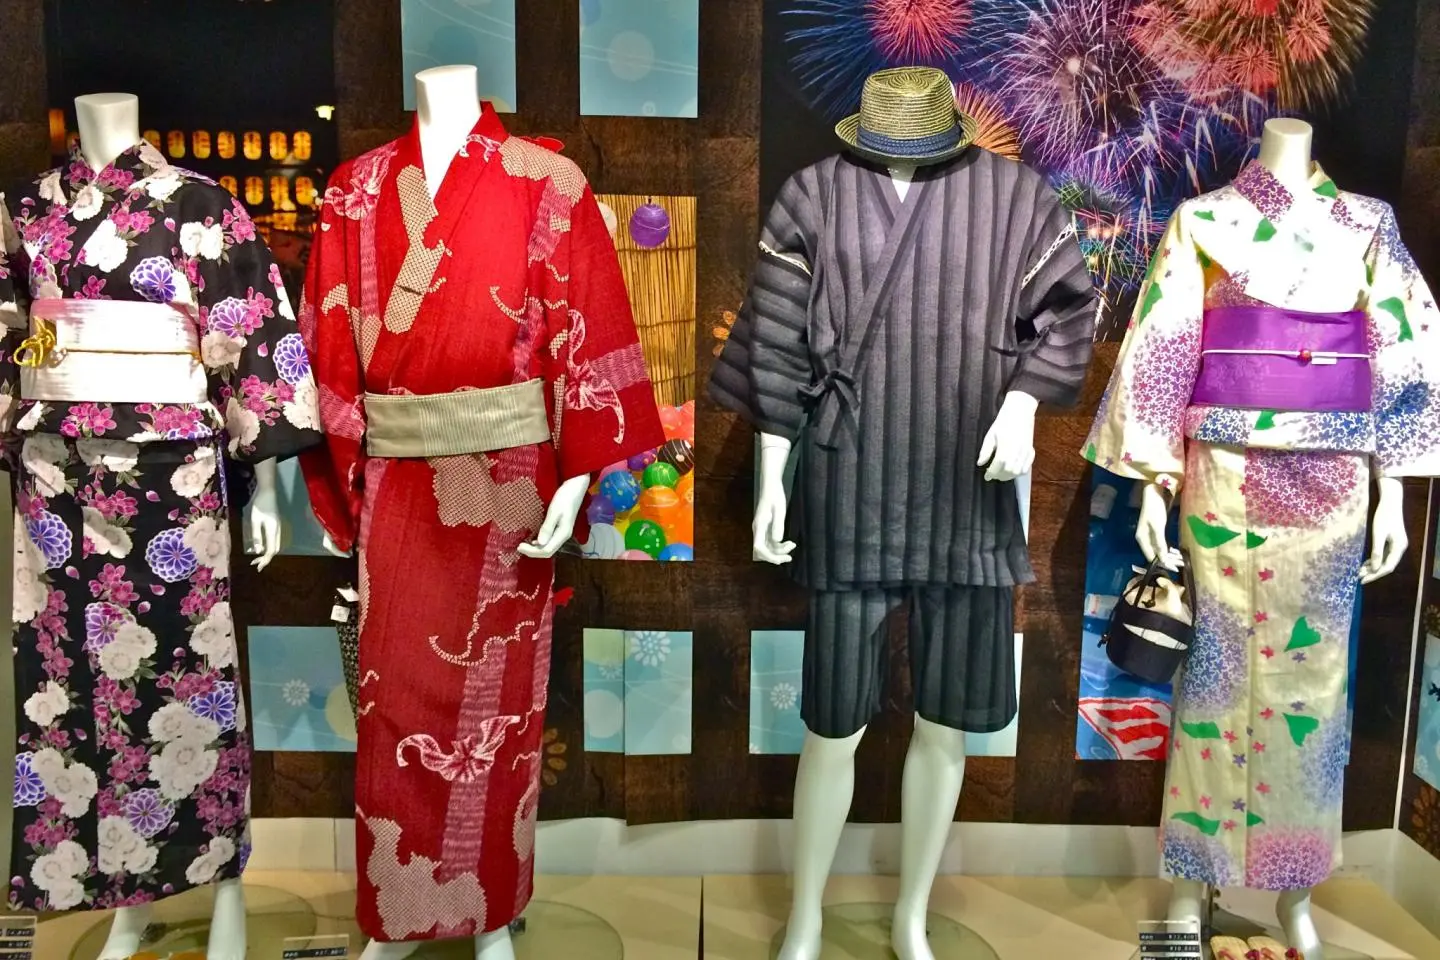
With the turning of each season come festivals that are distinctly Japanese. For summer, it means “Hanabi” (花火 or Fireworks) and wearing a “Yukata” (浴衣 or light cotton kimono). Hundreds of thousands of locals and visitors will flock to the beach, river, or parks in major cities to witness the fantastic display of fireworks that have been a major art form since the Edo Period (1603-1868). If you are planning to enjoy hanabi in Japan this summer, why not dress up in a yukata for the complete, cultural experience? Here is a guide on where to buy and how to wear a summer kimono.
Men, women and children can enjoy wearing a yukata. There are many designs to choose from and can vary much in price. Some may consider their age, taste and even class when trying to determine where and what to buy. My mission was to compare a couple of stores and then purchase a yukata with a unique and lovely design that would suit my style at a very reasonable price.
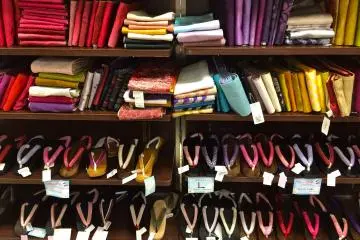
The yukata ensemble for a woman includes the following:
- Yukata: light, cotton kimono
- Koshi-Himo: sash, inner belt (x2)
- Obi: wide, outer belt
- Geta: wooden sandals worn with bare feet
- Hadajuban: underlayer kimono shift
- Kago Kinchaku: a purse made of bamboo and fabric
- Uchiwa: paper fan with bamboo or plastic handle
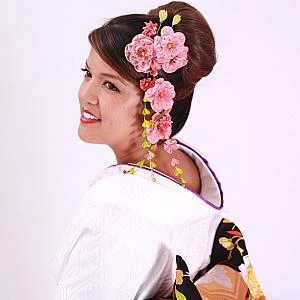
- Kanzashi: hair ornaments
- Obi-Jime and Obi-Dome: decorative string & charm tied around the center of obi
Items 1-3 are essential to the yukata look, while Items 4-8 are optional and can be substituted or not worn at all, especially for gaijin. For instance, instead of wearing traditional wooden sandals, it is acceptable to wear nice flip-flop sandals. Substitute an underlayer kimono with a tank top and leggings. Or, you can wear your hair up without clipping a fancy ornament onto it.
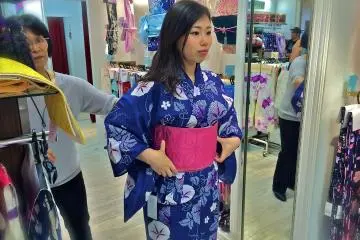
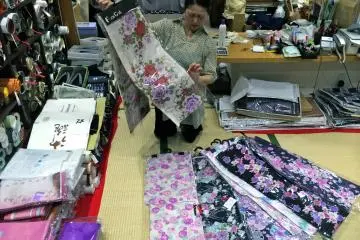
Our first stop was to a small, family-owned shop in Yokosuka called Nunoya (ぬのや). It is located next door to TGI Friday’s and is within five minutes walking distance from Yokosuka-Chuo station. Two, very warm and friendly women were happy to assist us. They laid out two yukata options. Yukata-in-a-bag, or set, which came with yukata, a musubi obi (pre-tied obi belt), and geta, all pre-determined in design and color combination. Or, purchase the yukata and obi as separates in order to select a look that fits your individual style. Either way, the total cost of each option would run approximately 4,800-5,500yen. The designs were basic but beautiful, and our overall experience was educational, comfortable, and fun, in an intimate setting. Especially, when the family dog would come around to play! Closed Sunday & Monday.
The next and last shop was to the popular department store Marui City (O1O1) in Shibuya. Due to its location, inventory, and price, many staff members were ready and available to assist at your service. I was immediately drawn to the fabric and crisp, classic designs of the yukata’s on their mannequins. Within a few seconds, I was approached and introduced to their newest yukata line. Named “Rakuchin Kirei Yukata,” it is marketed as the 3-Step, user-friendly yukata to make life a little less complicated in the dressing room. It eliminates the need for koshi-himo, tucking, and folding. Just add the Rakuchin Kirei Yukata Obi and voilà! No need for assistance, you can dress up in this yukata ensemble on your own! Just like Nunoya in Yokosuka, you could also select the traditional yukata, obi, and geta as separates or purchase as a set. Prices at Marui City start at 16,000yen, so be prepared to splurge. The selection and service here was outstanding.
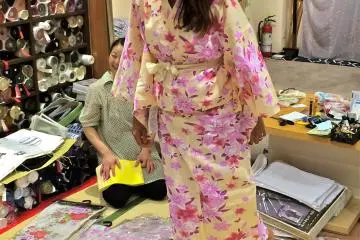
Now that you've made a decision on where to purchase a yukata ensemble, how do you put it on once you’re at home?
- Slip on Hadajuban over undergarments.
- Put the Yukata on and center it using the back center stitch.
- While holding both sides of the fabric, pull it up so the bottom hem is at ankle level.
- Bring right side to front, keeping length at about 4” from the ground.
- Bring left side to the front, which is now on top of right side. Keep length at 2” from the ground.
- Take first Koshi-Himo and tie around the waist tightly. Be sure to tuck the ends in.
- Pull extra fabric over Koshi-Himo. This layer around the waist is called Ohashori, which should show below the Obi.
- Tie second Koshi-Himo around high waist, just below the bust. Be sure to tuck the ends in.
- Tuck extra fabric on sides as necessary making it look as clean as possible.
- Tie Obi around waist covering the second Koshi-Himo. Refer to Google & YouTube for tying an obi. Now, you are finished!
Enjoy the Hanabi Takai (花火大会 or Fireworks Display) and take plenty of pictures in your yukata to share back home!

/139.700471,35.661591,9/397x132?access_token=pk.eyJ1IjoiamFwYW50cmF2ZWxtYXBzIiwiYSI6ImNqbXBtOXYxbDB5Z3ozbHFrazJuYWMwOGYifQ.v15fy_mcFWtgopmz8PhwqA)